 Add Row
  Add
Add 
Mastering Your DIY: A Comprehensive Guide to Building a Walk-In Shower Base
Do you want to upgrade your bathroom with a walk-in shower but feel overwhelmed by the construction process? Building a shower base may seem daunting, but with the right guidance, you can transform your bathroom into a modern oasis without professional help. This guide will walk you through the essential steps, tools, and materials required to construct a solid shower base that combines functionality with aesthetic appeal.
Understanding the Basics of Walk-In Showers
A walk-in shower typically features an open design without a bathtub and is often enclosed by glass or tiles to prevent splashes and water flow beyond containment. When considering a renovation or a new installation, it’s crucial to understand its components and how they work together effectively. The shower base or pan creates a waterproof foundation that directs water to the drain, reducing the risk of leaks and water damage.
The Essential Tools and Materials for Your Project
Before embarking on your DIY journey, gathering the necessary tools and materials will streamline your process. You will need:
- Shower arm
- Shower head
- Sloping shower tray
- Waterproof materials (latex or liquid membranes)
- Shower drain
- Adhesives
- Circular saw
- Level measurement tool
- Safety glasses and gloves
By ensuring you have a complete kit, you can save time and avoid interruptions during installation.
Step-by-Step Guide to Build a Shower Base
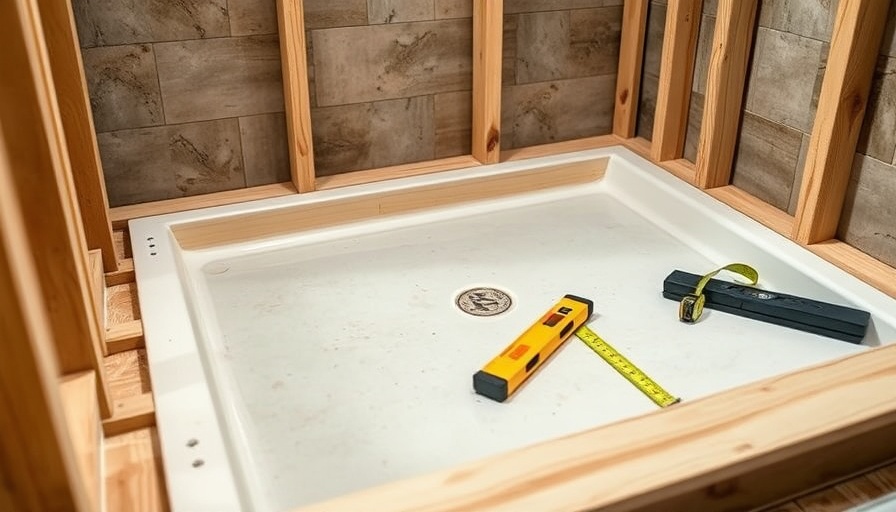
1. Measuring and Preparing Your Space
First, measure your shower area carefully. Common dimensions range from 36 to 60 inches wide for walk-in showers. Outlining the shower’s location on the floor in pencil will help visualize your space. Next, ensure that the subfloor is level and free of bumps, which is critical for proper drainage.
2. Installing the Drain
Select and install a shower drain that fits your design. The drain should be positioned at the lowest point of the shower base to allow for optimal water flow. Apply sealant around the drain, allowing it to set as recommended by the manufacturer's instructions. This step is vital to prevent leaks.
3. Constructing the Shower Base
Pour a bed of thin-set mortar onto the subfloor to create a sloped base that directs water towards the drain. It’s important to measure the correct pitch; a slope of 1/4 inch per foot is optimal. After smoothing the mortar, let it cure overnight. A two-layer approach typically involves first laying a layer of mortar and after it cures, a second layer that brings the base up to the necessary height.
4. Applying a Waterproof Membrane
Cover the dry mortar with a waterproof membrane to prevent moisture from penetrating the subfloor. Ensure it goes up the walls for at least six inches and is securely attached with roofing nails. A solid waterproof barrier is essential for preventing long-term damage.
5. Installing Cement Board and Tile
After ensuring your waterproof membrane is properly installed, attach cement board to the walls of your shower. This will provide a sturdy backer for tiles, which will be installed as the final touch of your shower’s finish. Equip yourself with a tile adhesive and grout to secure your tiles, ensuring no gaps are left for water seepage.
6. Finishing Touches and Testing Your Work
Once the tiles are laid, allow everything to cure appropriately before using the shower. Testing for leaks is crucial; run water over the base and ensure it properly drains without any accumulation of water in the corners. If you notice any pooling, you may need to adjust the slope slightly.
Future Considerations for Your Shower
Creating a walk-in shower base is just one aspect of bathroom renovation. Should you wish to upgrade other components like shower heads or faucets, ensure they complement your new design. Additionally, it’s worth considering accessories that increase functionality, such as built-in shelves or niches to hold bath products.
Transforming Your Bathroom
Successfully building a shower base not only enhances the utility of your bathroom but also adds significant value to your home. If at any point during the process you feel uncertain, consider consulting with a professional. Their expertise can provide peace of mind and ensure all plumbing and waterproofing are up to code.
Whether you are an experienced DIY enthusiast or a first-timer, the satisfaction of completing a renovation project yourself is immeasurable. Take the plunge into this rewarding home improvement task and enjoy the shower of your dreams!


 Add Row
  Add
Add 
Write A Comment