Add Row
Add Element
Add Element
  • Home
  • Categories
    • Makeovers DIY
    • Contractor Services DFY
    • Home Experts DWY
    • Smart Home Upgrades
    • Outdoor Living
    • Down Sized Living
    • Featured
    • Community Causes
August 01.2025
3 Minutes Read

Mastering Your Shower Curb: A DIY Guide for Beginners

Building a wooden shower curb frame with tools on plywood.

Understanding the Importance of a Shower Curb

Creating a dry, functional bathroom is paramount in any home. One key element that contributes to this is the shower curb. A shower curb acts as a barrier, preventing water from splashing onto the bathroom floor, thus maintaining a clean, dry environment. For homeowners looking to tackle this project themselves, understanding the essential steps and materials is crucial for a successful installation.

Gathering Your Tools and Materials

Before diving into the construction process, ensure you have all necessary tools and materials at your disposal. Based on the type of flooring in your bathroom, you will need specific components:

  • Non-corrosive screws to hold elements together securely.
  • A waterproof pan liner to prevent any leakage.
  • Gloves for protection during work.
  • Liner glue to properly secure the pan liner.
  • Cement mortar to form a solid curb structure.
  • Metal lath for added rigidity.
  • Portland cement, which is essential for building a strong base.
  • A flat trowel and a knife for precise cutting and smoothing.

Being thoroughly prepared can make the process smoother and more efficient.

Step-by-Step Guide to Building a Shower Curb

Once you have all supplies, you can follow these straightforward steps to construct your shower curb:

  1. Prepare the Shower Curb: Assess the material needed based on your flooring type. Wooden floors require wood bricks, while concrete floors are best suited with cement bricks. Ensure the curb height allows the shower door to function correctly.
  2. Apply the Waterproof Pan Liner: This step is critical for ensuring water stays within the shower area. Spread the liner smoothly over the entire shower area, not just the curb section, to provide maximum protection.
  3. Construct the Curb: Place your chosen bricks or materials to form the curb, ensuring they align properly. Use cement mortar to secure these materials in place. For added support, consider using 2-3 layers, as this will strengthen the structure against water pressure.
  4. Finish the Curb: Once the mortar has set, you can finish the curb with your choice of surface materials. This could include tiling or a textured finish that matches the rest of your bathroom decor.

Safety and Best Practices

When engaging in a DIY project, safety is paramount. Always wear protective gear, particularly gloves and possibly goggles if you'd be using power tools. Ensure the workspace is clear and organized to prevent accidents. Following a step-by-step approach not only simplifies the process but also mitigates potential mishaps.

Maintaining Your Shower Curb

After successfully constructing your shower curb, ongoing maintenance is essential to ensure its longevity and effectiveness. Regularly check for cracks or gaps that can develop due to moisture over time. Using a sealant periodically can help supplement your curb’s waterproofing and maintain its integrity.

Conclusion: Empowerment Through DIY

Building your shower curb not only addresses practical water management issues but also empowers DIY enthusiasts to take control of their living space. Understanding the materials and steps involved allows homeowners to execute this project confidently, on their terms. Embrace the task with proper preparation, and you will enjoy the satisfaction that comes from completing this home improvement task successfully!

Featured

4 Views

0 Comments

Write A Comment

*
*
Related Posts All Posts
09.09.2025

Unlock the Secrets of Dry Sauna Benefits for Your Health

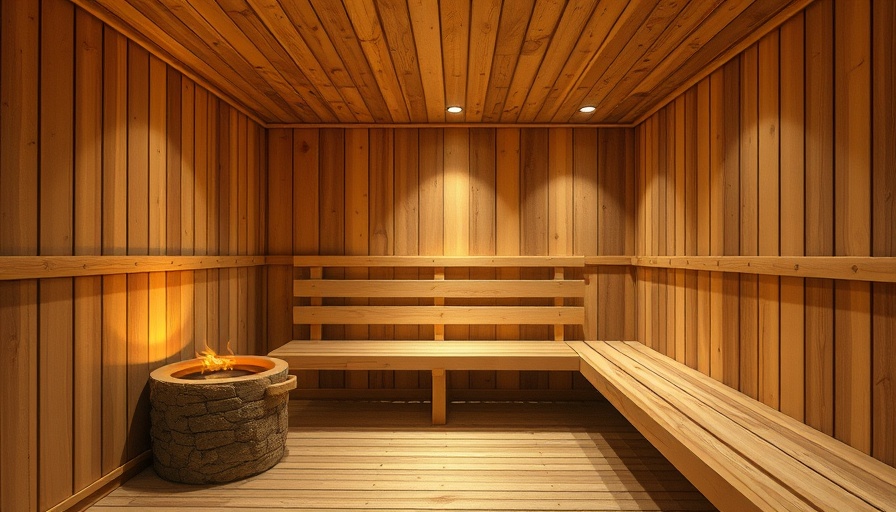
Update Unfolding the Health Benefits of Dry Saunas Are you on a quest for a simple and organic approach to enhance your health and fitness? What if the answer lies in a 100% natural therapy that requires just under 20 minutes of your time? Dry saunas have gained popularity not only for relaxation but also for their multitude of health benefits that can significantly uplift your overall well-being. What Makes a Dry Sauna Special? A dry sauna is essentially an enclosed space that can reach temperatures of up to 195 degrees Fahrenheit. Unlike steam saunas that employ moist heat, dry saunas offer low humidity and high temperatures that create ideal conditions for sweating. This sweating mechanism is essential for detoxification and overall health. The distinct environments of a dry sauna, equipped with water-resistant wooden benches and powered by electric or wood-burning heaters, allow for a pleasurable and therapeutic experience. Understanding the types of saunas—such as infrared and electric heating saunas—can help you select the best one that meets your individual needs for health relaxation. Revealing Seven Essential Benefits of Regular Sauna Use Here are seven compelling health benefits associated with regularly enjoying the dry sauna experience: Enhanced Immunity: Spending time in a dry sauna can boost your immune system by enhancing blood circulation and increasing the production of white blood cells, fundamentally helping your body to fight off infections and illnesses. Weight Loss: While not a standalone solution, utilizing a dry sauna post-exercise can aid in furthering weight loss efforts. The heat causes your heart rate to increase, mimicking a cardiovascular workout, which helps shed extra pounds. Stress Reduction: The calming heat of the sauna provides a therapeutic environment that reduces stress levels by lowering cortisol, your body’s primary stress hormone. This tranquil space allows for mental clarity and relaxation. Skin Health: Your skin can glow with good health from regular sauna sessions. Sweating opens pores and detoxifies the skin, resulting in a clearer complexion. Muscle Recovery: Post-exercise recovery is essential, and heat exposure can help relax muscles, reduce soreness, and enhance recovery times from physical exertion. Enhanced Cardiovascular Health: Routine sauna use can reduce blood pressure and improve cardiovascular performance, contributing positively to your heart health. Detoxification: Sweating profusely in a sauna helps eliminate heavy metals and toxins from the body, promoting a healthier internal environment. Counterarguments: Balancing Perspective with Caution While the benefits of dry saunas are compelling, it's crucial to approach sauna use with a balanced perspective. Individuals with certain health conditions such as cardiovascular issues or those who are pregnant should consult a healthcare professional before indulging. Understanding the risks and limitations of sauna use ensures that you take full advantage of its benefits without compromising your health. Practical Tips for Sauna Users To get the most out of your sauna experience: Stay Hydrated: Ensure you drink plenty of water before and after your sauna session to replace fluids lost through sweating. Duration Matters: Start with shorter sessions (5-10 minutes) and gradually increase your time as your body acclimates. Combine with Exercise: Incorporating sauna sessions into your regular workout routine can maximize weight-loss efforts and recovery. Where to Start Your Sauna Journey If you’re inspired to give a dry sauna a try, consider local gyms, wellness centers, or home installations that offer sauna access. Utilizing this unique method can not only alleviate stress but also support various health objectives. Overall, the advantages of integrating short regular sessions in a dry sauna can profoundly impact your physical and mental well-being. Whether as a standalone practice or combined with your fitness regimen, the goals of health enhancement and relaxation are at your fingertips.

09.08.2025

Transform Your Home with Expert Tips on Tongue and Groove Flooring

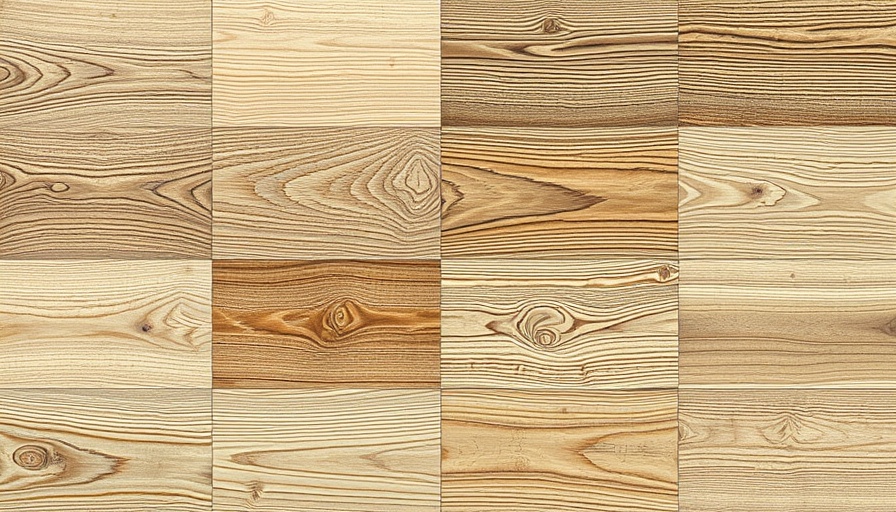
Update An Overview of Tongue and Groove Flooring Tongue and groove flooring has emerged as a popular choice for homeowners aiming to achieve a stylish and elegant look with minimal effort and expense. This type of flooring employs a straightforward yet effective installation method that allows planks to lock together, making it ideal for those considering a DIY project. A significant advantage is the floating floor technique used, which enables planks to sit atop an underlayment rather than being permanently glued or nailed down. This versatility not only makes it easier to install but also simplifies future replacements. Advantages of Choosing Tongue and Groove Flooring This flooring option boasts numerous benefits: it is cost-effective, quick to install, and provides a beautiful wood-like appearance without the hefty price tag of traditional hardwood. Additionally, ample options exist with tongue and groove products available in both engineered and solid wood formats. Engineered flooring, for instance, is designed for added stability and often features a prefinished surface, saving time during installation. Preparation is Key: Essential Steps Before Installation Proper preparation can significantly reduce headaches during the installation process. Begin by ensuring the subfloor is clean, dry, and free from any imperfections that could impact the final result. Install a quality underlayment with a vapor barrier to promote longevity and protect against moisture damage. Selecting high-quality tongue and groove materials is equally crucial, as this will impact both the floor’s durability and aesthetic appeal. Installing Tongue and Groove Flooring: A Step-By-Step Guide The installation process for tongue and groove flooring is relatively straightforward, making it suitable for DIY enthusiasts. Start by laying the underlayment across the subfloor, ensuring that it overlaps without gaps. Next, take the first plank and position it with the groove facing the wall, leaving a slight expansion gap. Insert the tongue of the next plank into the groove of the previous plank, and continue this process across the floor. Secure each plank by gently tapping it into place with a hammer and a tapping block to achieve a snug fit. Common Mistakes to Avoid When Installating While the DIY installation of tongue and groove flooring is accessible, several common mistakes can lead to issues down the line. For example, neglecting to leave adequate expansion gaps can cause the flooring to buckle over time, especially in humid climates. Moreover, failing to use an appropriate underlayment may result in uneven floors and increased wear. To mitigate these risks, take your time during the installation process and consult manufacturer guidelines whenever needed. Future Trends in Flooring: Sustainable Options As environmental awareness increases, more homeowners are seeking sustainable flooring options. Manufacturers are responding by producing tongue and groove flooring made from reclaimed wood or sustainable sources, allowing homeowners to enjoy the aesthetic benefits while also contributing to environmental conservation. Staying informed about these options can greatly expand your flooring choices and align with green building practices. Your Next Steps in Flooring Choices Before you embark on your tongue and groove flooring journey, assess your specific needs and preferences. Consider factors such as the type of material you prefer, the layout of your space, and your budget constraints. Do thorough research, perhaps consulting with flooring experts to explore the best options suited for your home. By being proactive, you’ll ensure that your new flooring not only looks beautiful but also lasts for years to come. In conclusion, tongue and groove flooring offers a myriad of aesthetic and practical advantages for homeowners eager to enhance their living spaces. With proper preparation, execution, and an eye toward sustainable options, you can transform your floors into an elegant and inviting feature of your home.

09.07.2025

SPC vs WPC Flooring: Key Differences to Inform Your Choice!

Update Understanding SPC and WPC Flooring: A Comprehensive OverviewWhen it comes to upgrading your flooring, two popular options that often come up are Stone Plastic Composite (SPC) and Wood Plastic Composite (WPC) flooring. Both alternatives are recognized for their durability and water resistance, making them appealing choices for homeowners in search of reliable flooring solutions. But how do they differ?What is SPC Flooring?SPC flooring is known for its robust construction, which includes a core made from a mixture of limestone and stabilizers. This blend creates a rigid and indestructible flooring option that can withstand heavy foot traffic and is resistant to water damage. Its layered structure typically includes a backing layer, a solid SPC core, a printed vinyl layer for style, and a wear layer that protects against scratches and dents.The Layers of WPC FlooringOn the other hand, WPC flooring incorporates a different philosophy in design, particularly regarding the comfort level. WPC features a core made of PVC with added wood fibers, providing a softer underfoot feel compared to SPC. Like SPC, WPC flooring consists of several layers: a backing layer, a resilient WPC core, a printed vinyl layer that enhances aesthetics, and a protective wear layer.Feature-wise Comparison: Cost and ComfortCost is often a decisive factor when choosing between SPC and WPC flooring. Generally, WPC is priced higher due to its added comfort and insulation qualities, which can make homes feel warmer during colder months. Conversely, SPC flooring is budget-friendly, offering similar durability at a lower price point. However, while SPC is less flexible, it is immensely durable, suitable for high-traffic areas and commercial settings.Durability and Maintenance: Which Lasts Longer?In terms of longevity, both SPC and WPC flooring are designed to last, but their construction leads to differing care requirements. SPC's rigid core contributes to its resistance against rips and tears, making maintenance straightforward—often limited to regular sweeping and occasional mopping. WPC, although also durable, may require more care due to its softer core. Homeowners should ensure that heavy furniture is moved carefully to avoid indentations.Installation Process: A Step-by-Step GuideThe installation process can influence the decision as well. Both options can be installed through a floating installation method, which means they can be placed over existing floors without the need for glue or nails. This feature makes them particularly appealing for DIY projects. Prior to installation, surface preparation is essential to ensure a smooth and long-lasting floor.Making the Right Choice for Your HomeUltimately, choosing between SPC and WPC flooring should depend on your specific needs. Those looking for high durability and cost-effective flooring options may lean towards SPC, whereas homeowners who prioritize comfort and aesthetic appeal may opt for WPC. Understanding your lifestyle needs can greatly inform your decision.Conclusion: Invest Wisely in Your FlooringAs you contemplate elevating the ambiance of your home through flooring, consider the distinctions between SPC and WPC. An informed decision will not only enhance the visual appeal of your space but also ensure longevity, durability, and satisfaction in your choice.

Terms of Service

Privacy Policy

Core Modal Title

Sorry, no results found

You Might Find These Articles Interesting

T
Please Check Your Email
We Will Be Following Up Shortly
*
*
*